Rebuilding the Balcony Space
|
 |
|
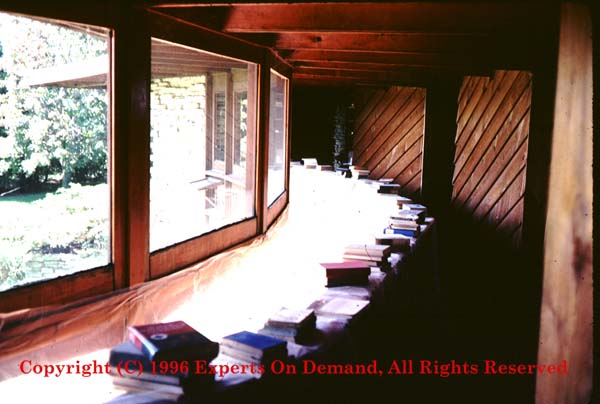
There were several issues that I wanted to address in the
restoration. The rooms were too small, particularly once you had a closet built
out into the room. The upstairs was also way too crowded, in very distinct
contrast to the rest of the house. The closeness of the rooms diminished the
slight chance of privacy that the home could provide.
|
|
 |
|
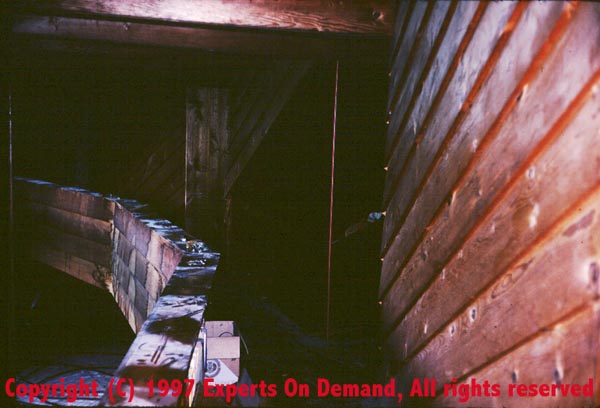
It was also very dark in the rooms. This was partially due to only
the back awning windows and the curtained doorways letting light into the
rooms. The walls towards the window wall went straight up between the rafters
and kept all south light out.
|
|
 |
|
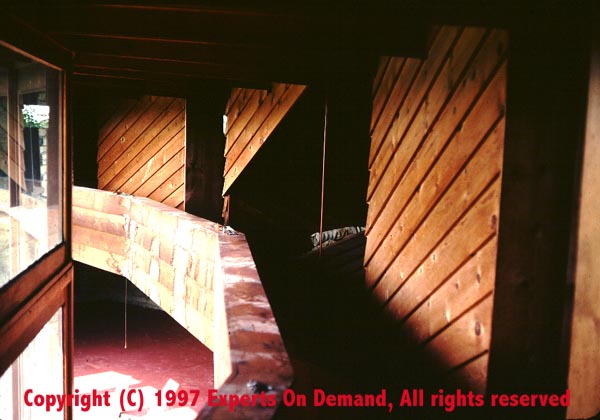
One of my tasks in the early phases of this project was to
dismantle the upstairs walls to allow the roof strengthening planned. I then
needed to move the pieces around so that they were never in the way.
|
|
 |
|
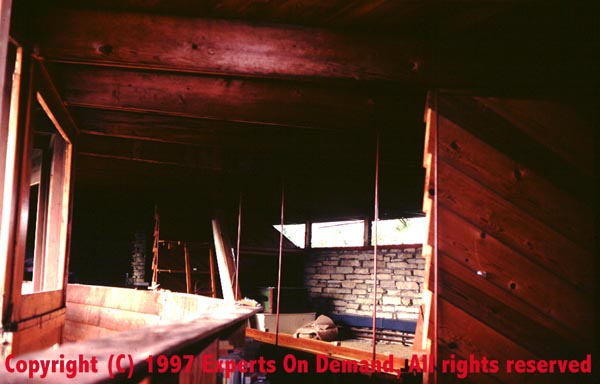
The upstairs immediately took on a new feel as the walls came out.
The plan was to add natural spacings to the bedrooms. The master bedroom on the
east end of the house was isolated from the rest of the upstairs by the tower.
My plan was to have three very nice bedrooms. Essentially I planned to take out
the middle 2 of the other 4 bedrooms.
Each of these rooms had 3 roof sections (inter-rafter spaces ).
One was to be used as a large walkin closet for the west stone bedroom and
another for the bedroom at the top of the stairs ( my old room ). These closets
would sit framing a new upstairs open sitting area. This plan greatly assisted
in a new sense of privacy in the three final bedrooms.
|
|
 |
|
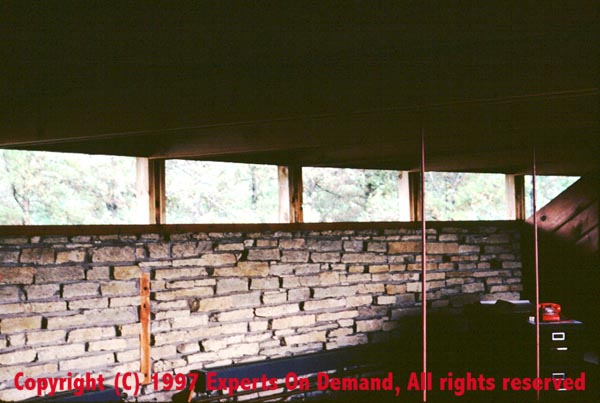
Besides opening up the space, skylights were a key part of my
plan. A large 4'x2' skylight went into both the master bedroom and the west
stone room. They were placed to drop light down the long stone wall. It was
possible to place the head of your bed under and look out at the stars at night
when we were done
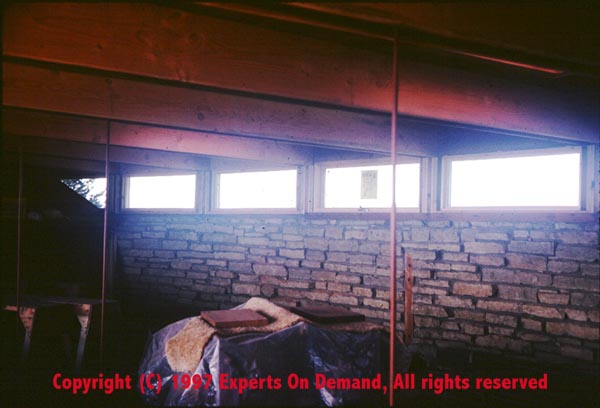
One of the things visible in this photo is the old radiator system
used to get some heat into the upstairs rooms, we would eventually build in a
cedar chaseway for heat, cooling, electrical, and phone services.
The other rather striking item here is the clear view of the
original 2x6 in the new support beam for the roof. Designing for snow load had
a 2x6 and a 1x6 attached to each side of the original 2x6. The original roof
simply melted the snow at a great cost in heating.
|
|
 |
|
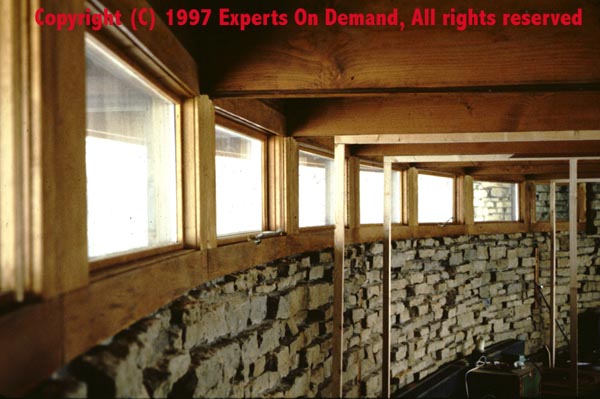
The bedroom at the top of the stairs got a 3'x2' skylight to
brighten it up and the new sitting room got 2 of these, one on each end.
It is clear here that we have the new north awning windows in. I
am not going to miss running out in the storms to close them from the outside
nor the effort to figure out where each screen and storm goes........
|
|
 |
|
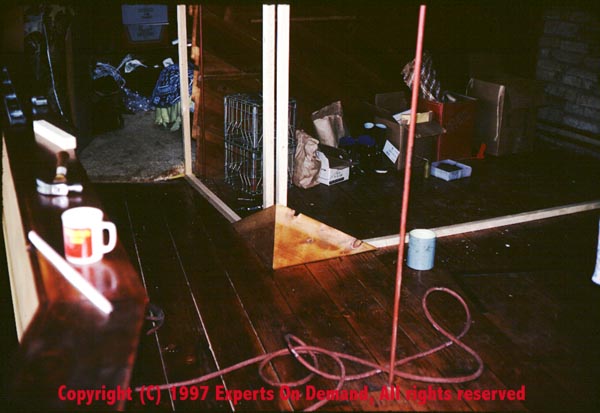
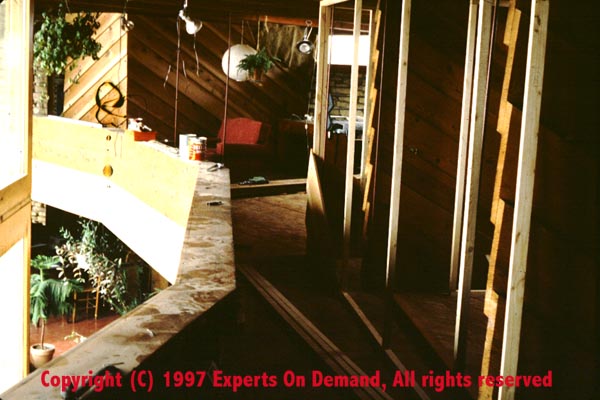
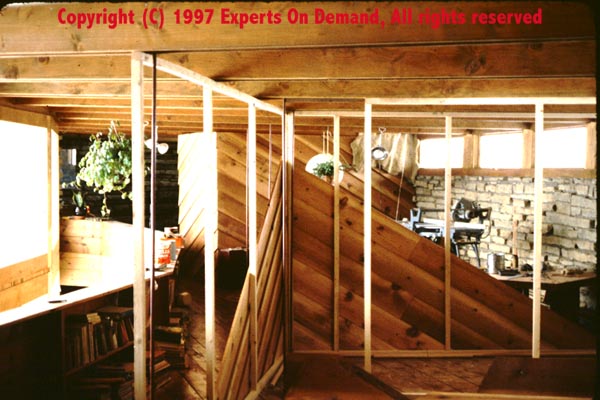
Here we go. Finally I got to start this aspect. I placed a very
light guiding framework up for a attachmant location. Advance work was required
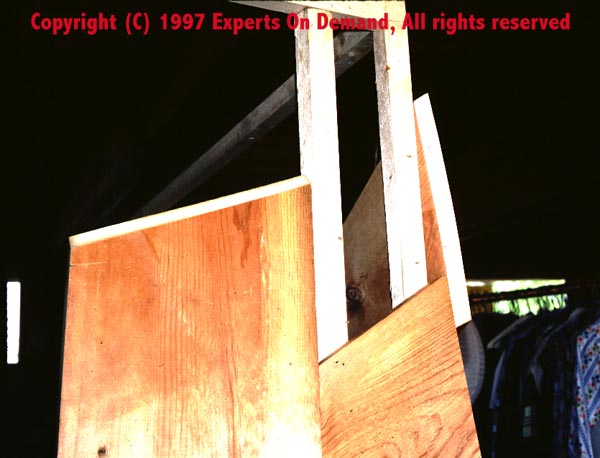
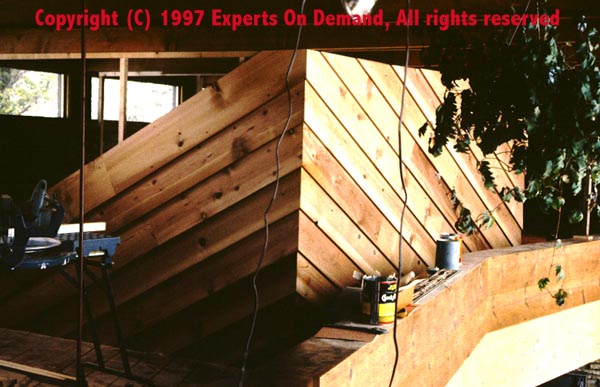
to find the right saws to rebuild the walls. The cedar boards were 16-18 inches
wide, needed 60 degree cuts to have it rise at a 30 degree tilt. And then there
were the angles required to mate baords seamlessly at the many
corners.........
|
|
 |
|
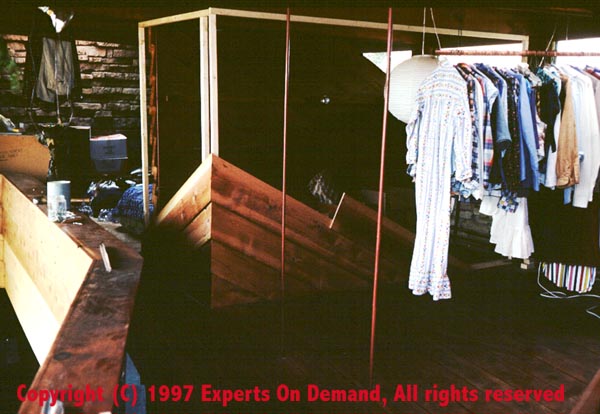
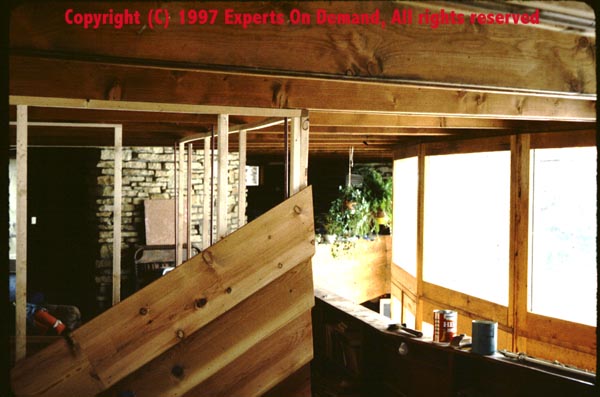
So you realize this is not trivial. I don't know how many hours
this took. The reward was watching my plan happen.
I secured a planer and cleaned 30+ yeras of darkening and age off
each board before cutting it for its new home in the upstairs walls.
|
|
 |
|
|
 |
|
|
 |
|
 |
|
 |
|
 |
|
